


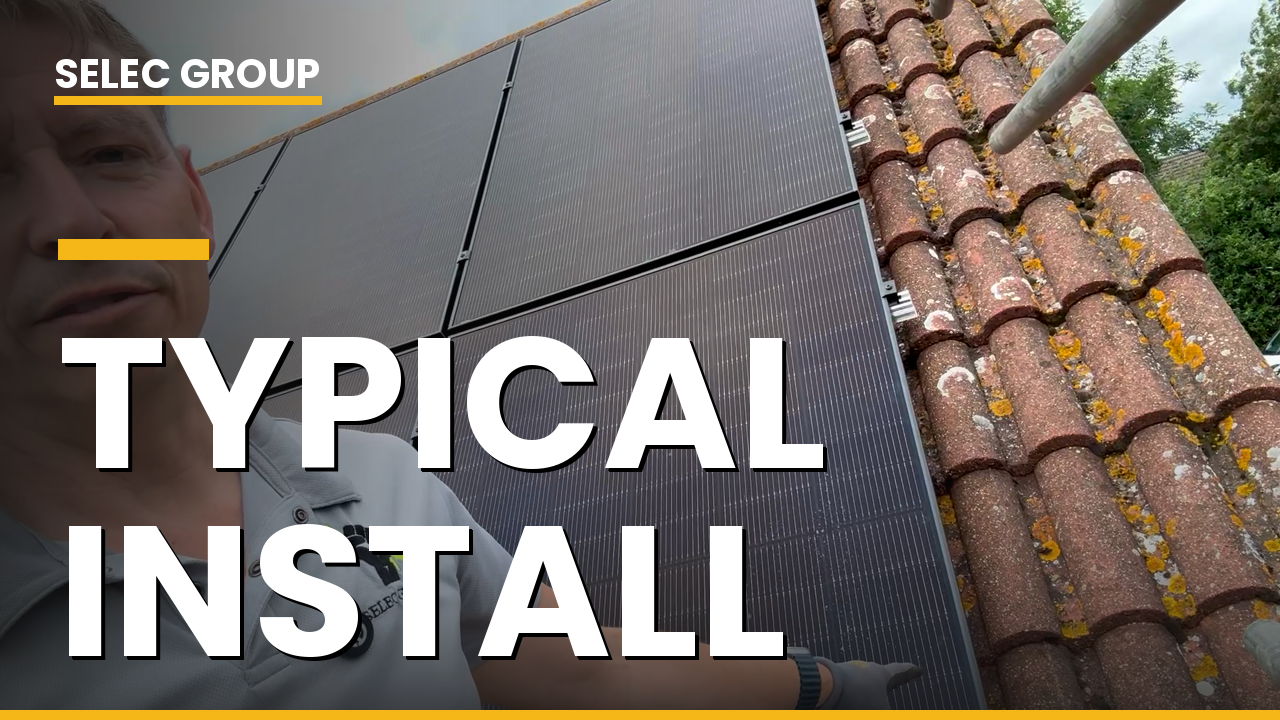
This is one of our typical installs, near finished. From the ground it looks like a tidy set of black panels on a roof, and that is the point. But there is a lot going on underneath that you do not see. In this post I will walk you through how a solar system goes together, from the scaffold to the final connection, and why we fill the roof when we get the chance. By the end you will know the anatomy of an install and what to look for when you weigh up quotes.

Why we fill the roof
Our mantra is simple. If you are going to put the scaffolding up, that is a substantial fixed cost, so you may as well fill the roof.
The scaffold costs the same whether you fit eight panels or twenty. So does the day rate for the team. The biggest savings come from the panels themselves, and once the scaffold is up, adding a few more is cheap by comparison.
On this roof we have gone right up as far as we sensibly can and across to the edge. We have not gone over the ridge line, the peak of the roof. In fact we are well below it. It looks higher than it is because of the angle you are viewing it from. The aim is to use the good roof space without crowding the edges or the ridge.
The parts of a solar system
People often think solar is just panels. It is really four main parts working together:
- Hooks: metal brackets that fix under the roof tiles and bolt into the rafters, the timber frame of the roof. These take the weight.
- Rails: aluminium bars that run across the hooks and give the panels something solid to clamp to.
- Panels: the units that turn sunlight into electricity. On this job they are JA Solar all black 465 watt panels.
- Inverter: the box, usually down below, that turns the DC power from the panels into the AC power your house uses.
Get the hooks and rails right and the system stays put for decades through wind and weather. This is the part you cannot see once the panels are on, so it is the part that matters most.
End caps and the finishing details
Once the panels are clamped to the rails, we fit end caps on the ends of the rails. These are small covers that close off the open ends of the aluminium. They tidy the look and stop muck and water sitting in the channel. Small job, but it is the kind of detail that marks out a proper install from a rushed one.
Bird proofing as standard
This roof just needs its bird proofing, which goes under the bottom edge of the panels. Bird proofing is a black wire mesh that closes the gap between the panels and the tiles.
That gap is small, but it is more than big enough for a pigeon to climb under. Once they are under there they treat it as a sheltered, predator free spot to nest, and the mess and noise become a real problem.
We fit bird proofing while the scaffold is already up, because doing it later means hiring scaffold again. It is one of the cheapest forms of insurance you can put on a solar system, so we fit it as standard.
Making the final connection
With the panels on the roof and the array complete, the last job is connecting up the power down below. That means wiring the panels back to the inverter, and the inverter into your consumer unit, the fuse board.
We test everything before we leave. Once it is live, the system starts producing straight away. From that moment the house draws on its own solar first and only takes from the grid when it has to.
The result: a near zero grid bill
On this house, the owner will probably not need much electricity from the grid for some time. The array is sized to cover most of what they use day to day.
That will hold until they change from gas to electric heating. When that day comes, their electricity demand will rise, and they may want more panels or a battery, or both. Because the system is built properly from the start, adding to it later is straightforward. Batteries in particular are modular, so you can grow the system as your needs grow.
What a good install looks like
When you are comparing quotes, here is what to look for:
- A team that fills the usable roof rather than dotting a few panels about.
- Proper hooks and rails fixed into the rafters, not just the tiles.
- End caps and bird proofing fitted as standard, not as extras.
- A tidy final connection with everything tested before handover.
We are MCS certified and TrustMark registered, and the only contractor on our sites is the scaffolder. Everything else is done by our own small, local team.
The bottom line
A solar install is more than panels on a roof. It is hooks, rails, panels, an inverter, end caps and bird proofing, all fitted properly so it lasts. Fill the roof while the scaffold is up and you get the best value for that fixed cost.
We fit solar across Cambridgeshire, Bedfordshire and Northamptonshire, in places like Grafham, Brampton, St Ives and Alconbury. If you want it done properly the first time, call the office on 01480 400 607 or request a survey through our website.
Jason Pope
Owner, Selec Group